
“], “filter”: { “nextExceptions”: “img, blockquote, div”, “nextContainsExceptions”: “img, blockquote, a.btn, a.o-button”} }”>
Heading out the door? Read this article on the new Outside+ app available now on iOS devices for members!
>”,”name”:”in-content-cta”,”type”:”link”}}”>Download the app.
If you’ve experienced the discomfort of a stiff back, you already know that the right stretch can deliver serious relief. This simple, not-too-intense yin yoga sequence targets spinal tightness by moving your back through its full range in a supported fashion.
Your spine moves in six primary directions: flexion (forward bending), extension (backbending), lateral flexion to each side, and rotation or twisting to each side. The following yin yoga poses will help you gently stretch your back in each of these ways to help relieve tension.
As you settle into each stretch, you should feel a slight sensation in your back, but it should never feel as though you’re pushing, forcing, or straining. Resist any urges to fidget, wiggle, and look around as you hold each pose. Focus on slow, deep breathing, directing each inhalation down your spine and each exhalation up the spine for release. If you experience serious discomfort or pain, you’ve taken the stretch too far, so either release slightly or skip the pose.
Yin Yoga for Your Stiff Back
You don’t need any props for this back mobility practice, though you might welcome a cushion or block for support. Otherwise, all you need is your body and a willingness to stay still in each stretch. Yin yoga poses are held for a minimum of two minutes and up to five, seven, or even 10 minutes. Set a timer to hold each pose appropriate to you.
Sphinx Pose
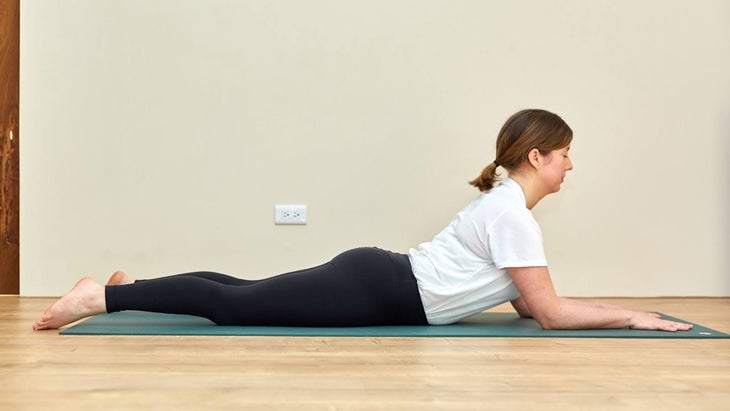
Begin in Sphinx Pose. Lie on your belly and place your forearms on the mat, elbows underneath or slightly forward of the shoulders. If the bend feels too intense for your stiff back, simply inch the elbows farther forward to make the curve in your spine gentler. Take your feet at least hip-distance apart. Some people experience less pressure on the lower back by taking their feet wider. Keep your gaze downward or slightly forward, keeping your neck long and relaxed.
Once you’ve completed the hold, lie on your belly, resting your cheek or forehead on your stacked hands. Bring your big toes together and let your heels release outward toward the edges of the mat. Stay here for a minute, or longer if desired.
Alternate Pose: If resting on the forearms is too much, rest flat on your belly with your forehead on stacked hands or arms relaxed by your sides; you’ll still create a gentle backbend in this variation.
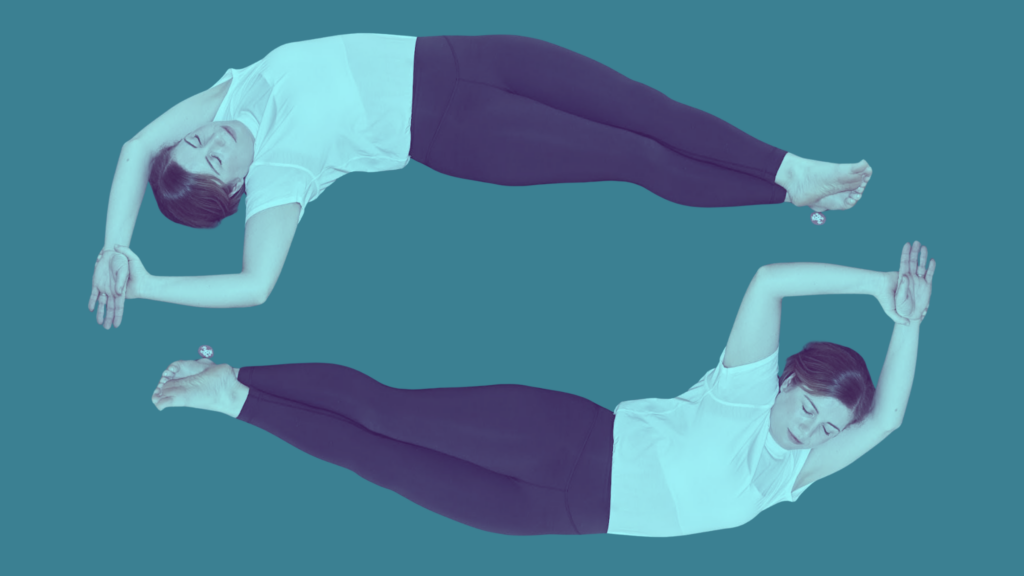
Banana Pose
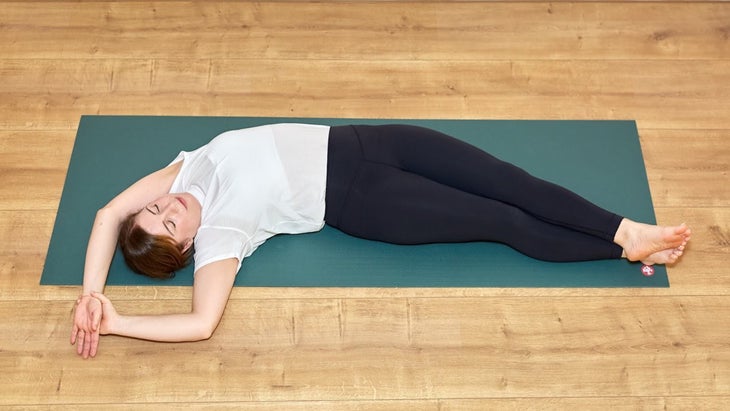
Lie on your back. Keep your hips in the center of the mat and then move both feet toward the bottom right corner of the mat. Then pick your head and shoulders slightly off of the mat to bring them toward the top right corner of the mat. You’ll be in a curved banana shape and start to feel sensation along the left side of your body.
To feel more sensation, hold your left wrist with your right hand and gently pull your left arm away from your body. Crossing your left ankle over your right ankle will also create a stronger sensation.
When you’re ready, repeat on the other side.
Alternate Pose: Keep one or both arms by your sides if taking them overhead feels too intense on your shoulders.
Savasana
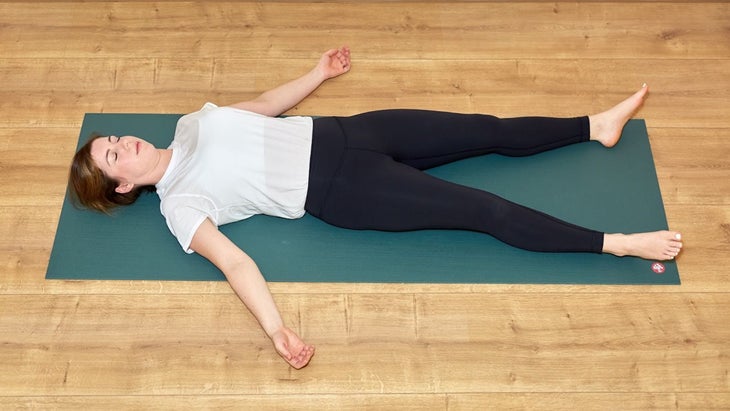
Once you’ve held the pose on both sides, lie on the mat with your feet and arms resting away from your body in Savasana for a minute or as long as desired to help counter the side stretch.
Seated Forward Bend
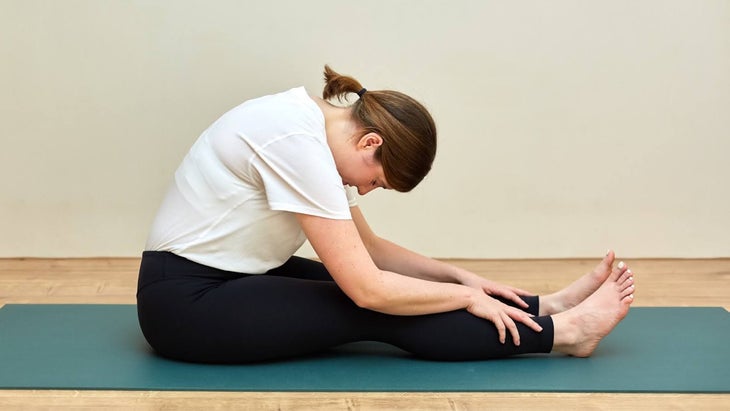
Seated Forward Bend, or Caterpillar Pose, provides spinal flexion. Start sitting on the mat with your legs long and straight in front of you. Slowly fold forward, dropping your nose toward your toes. Stop at the first point of resistance. Your hands can rest on or alongside your legs.
If this feels too intense on your lower back or backs of your thighs, try sitting on a cushion or a yoga block.
Release by lying in Savasana for a minute or longer.
Reclined Twist
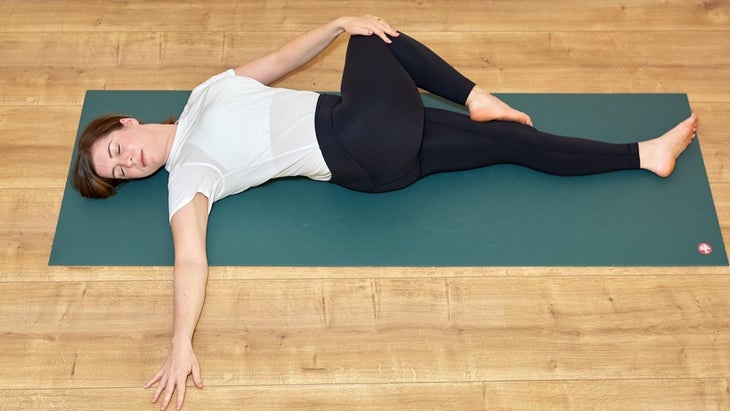
Lying on your back, place the sole of your right foot on your left thigh. Use your left hand to guide your right knee across your body toward the left. Stack your hips, right hip directly on top of the left. Extend your right arm straight out, perpendicular to your body, and look upward or turn your head toward the right if that’s comfortable. Keep both shoulders connected to the mat.
Practice Reclined Twist on both sides.
Then rest in Savasana for as long as feels appropriate to you, allowing your body to completely relax and absorb the benefits of your yin yoga practice.