
Wrist discomfort in yoga is common—but you can adjust poses for a pain-free practice.
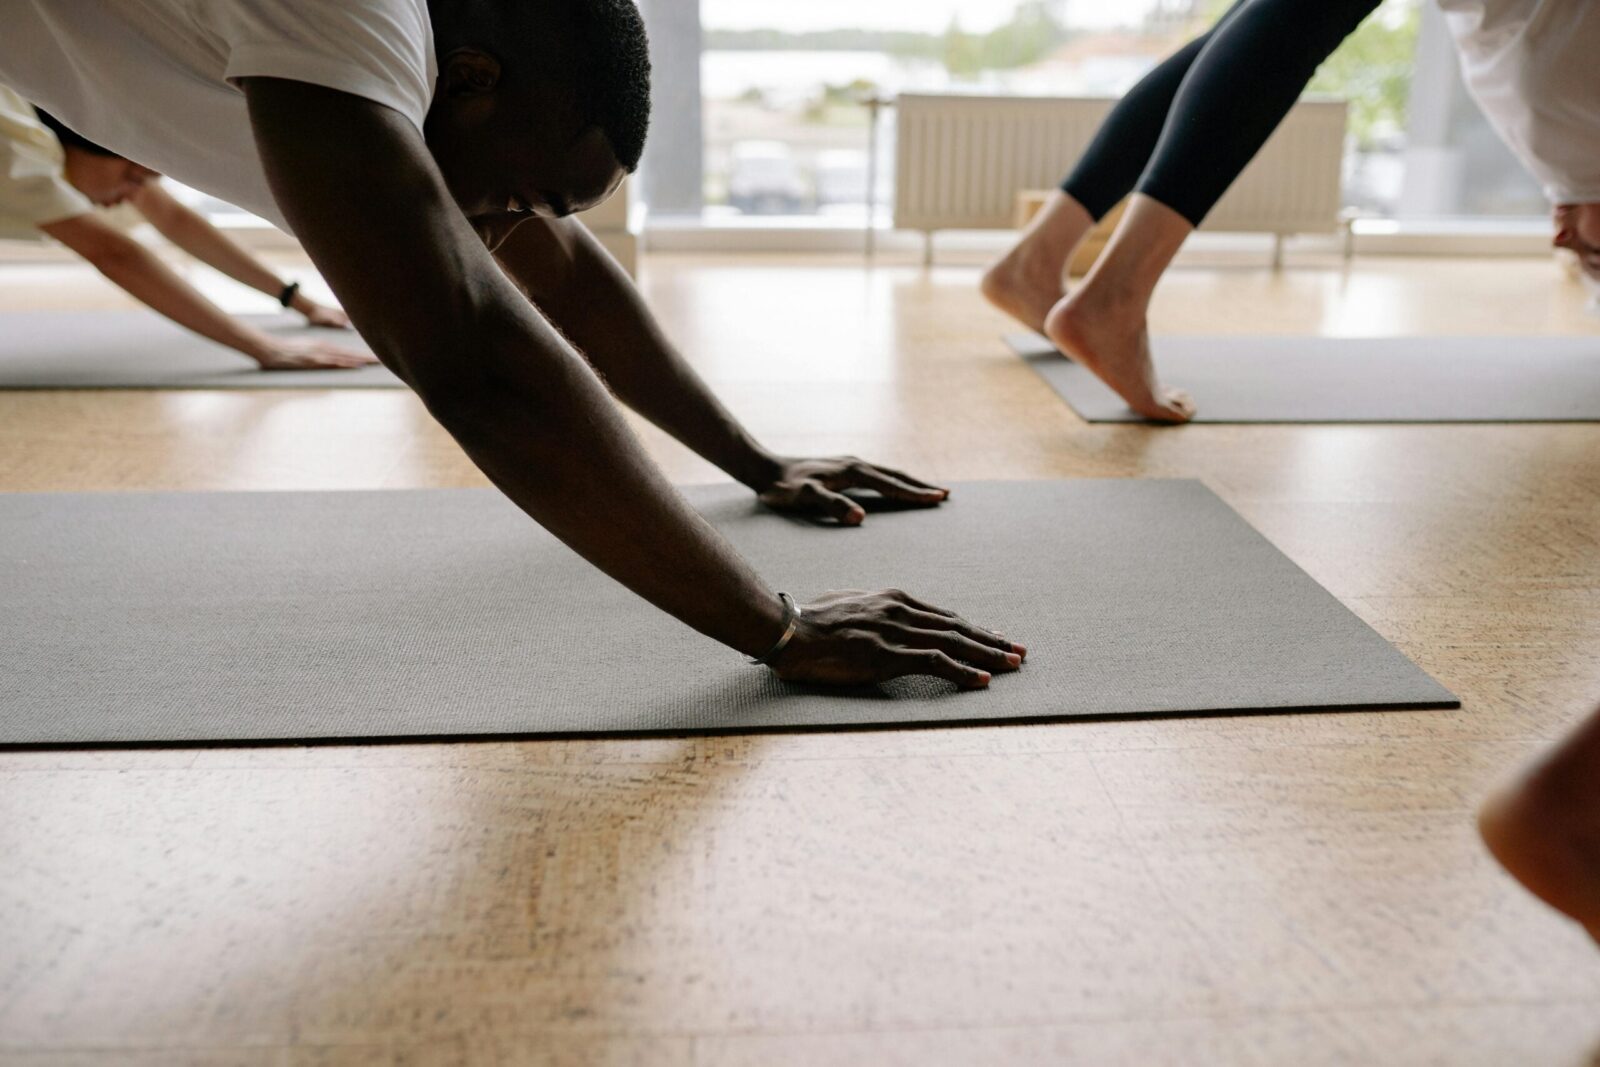
(Photo: Yan Krukau | Pexels)
Updated April 24, 2026 11:59AM
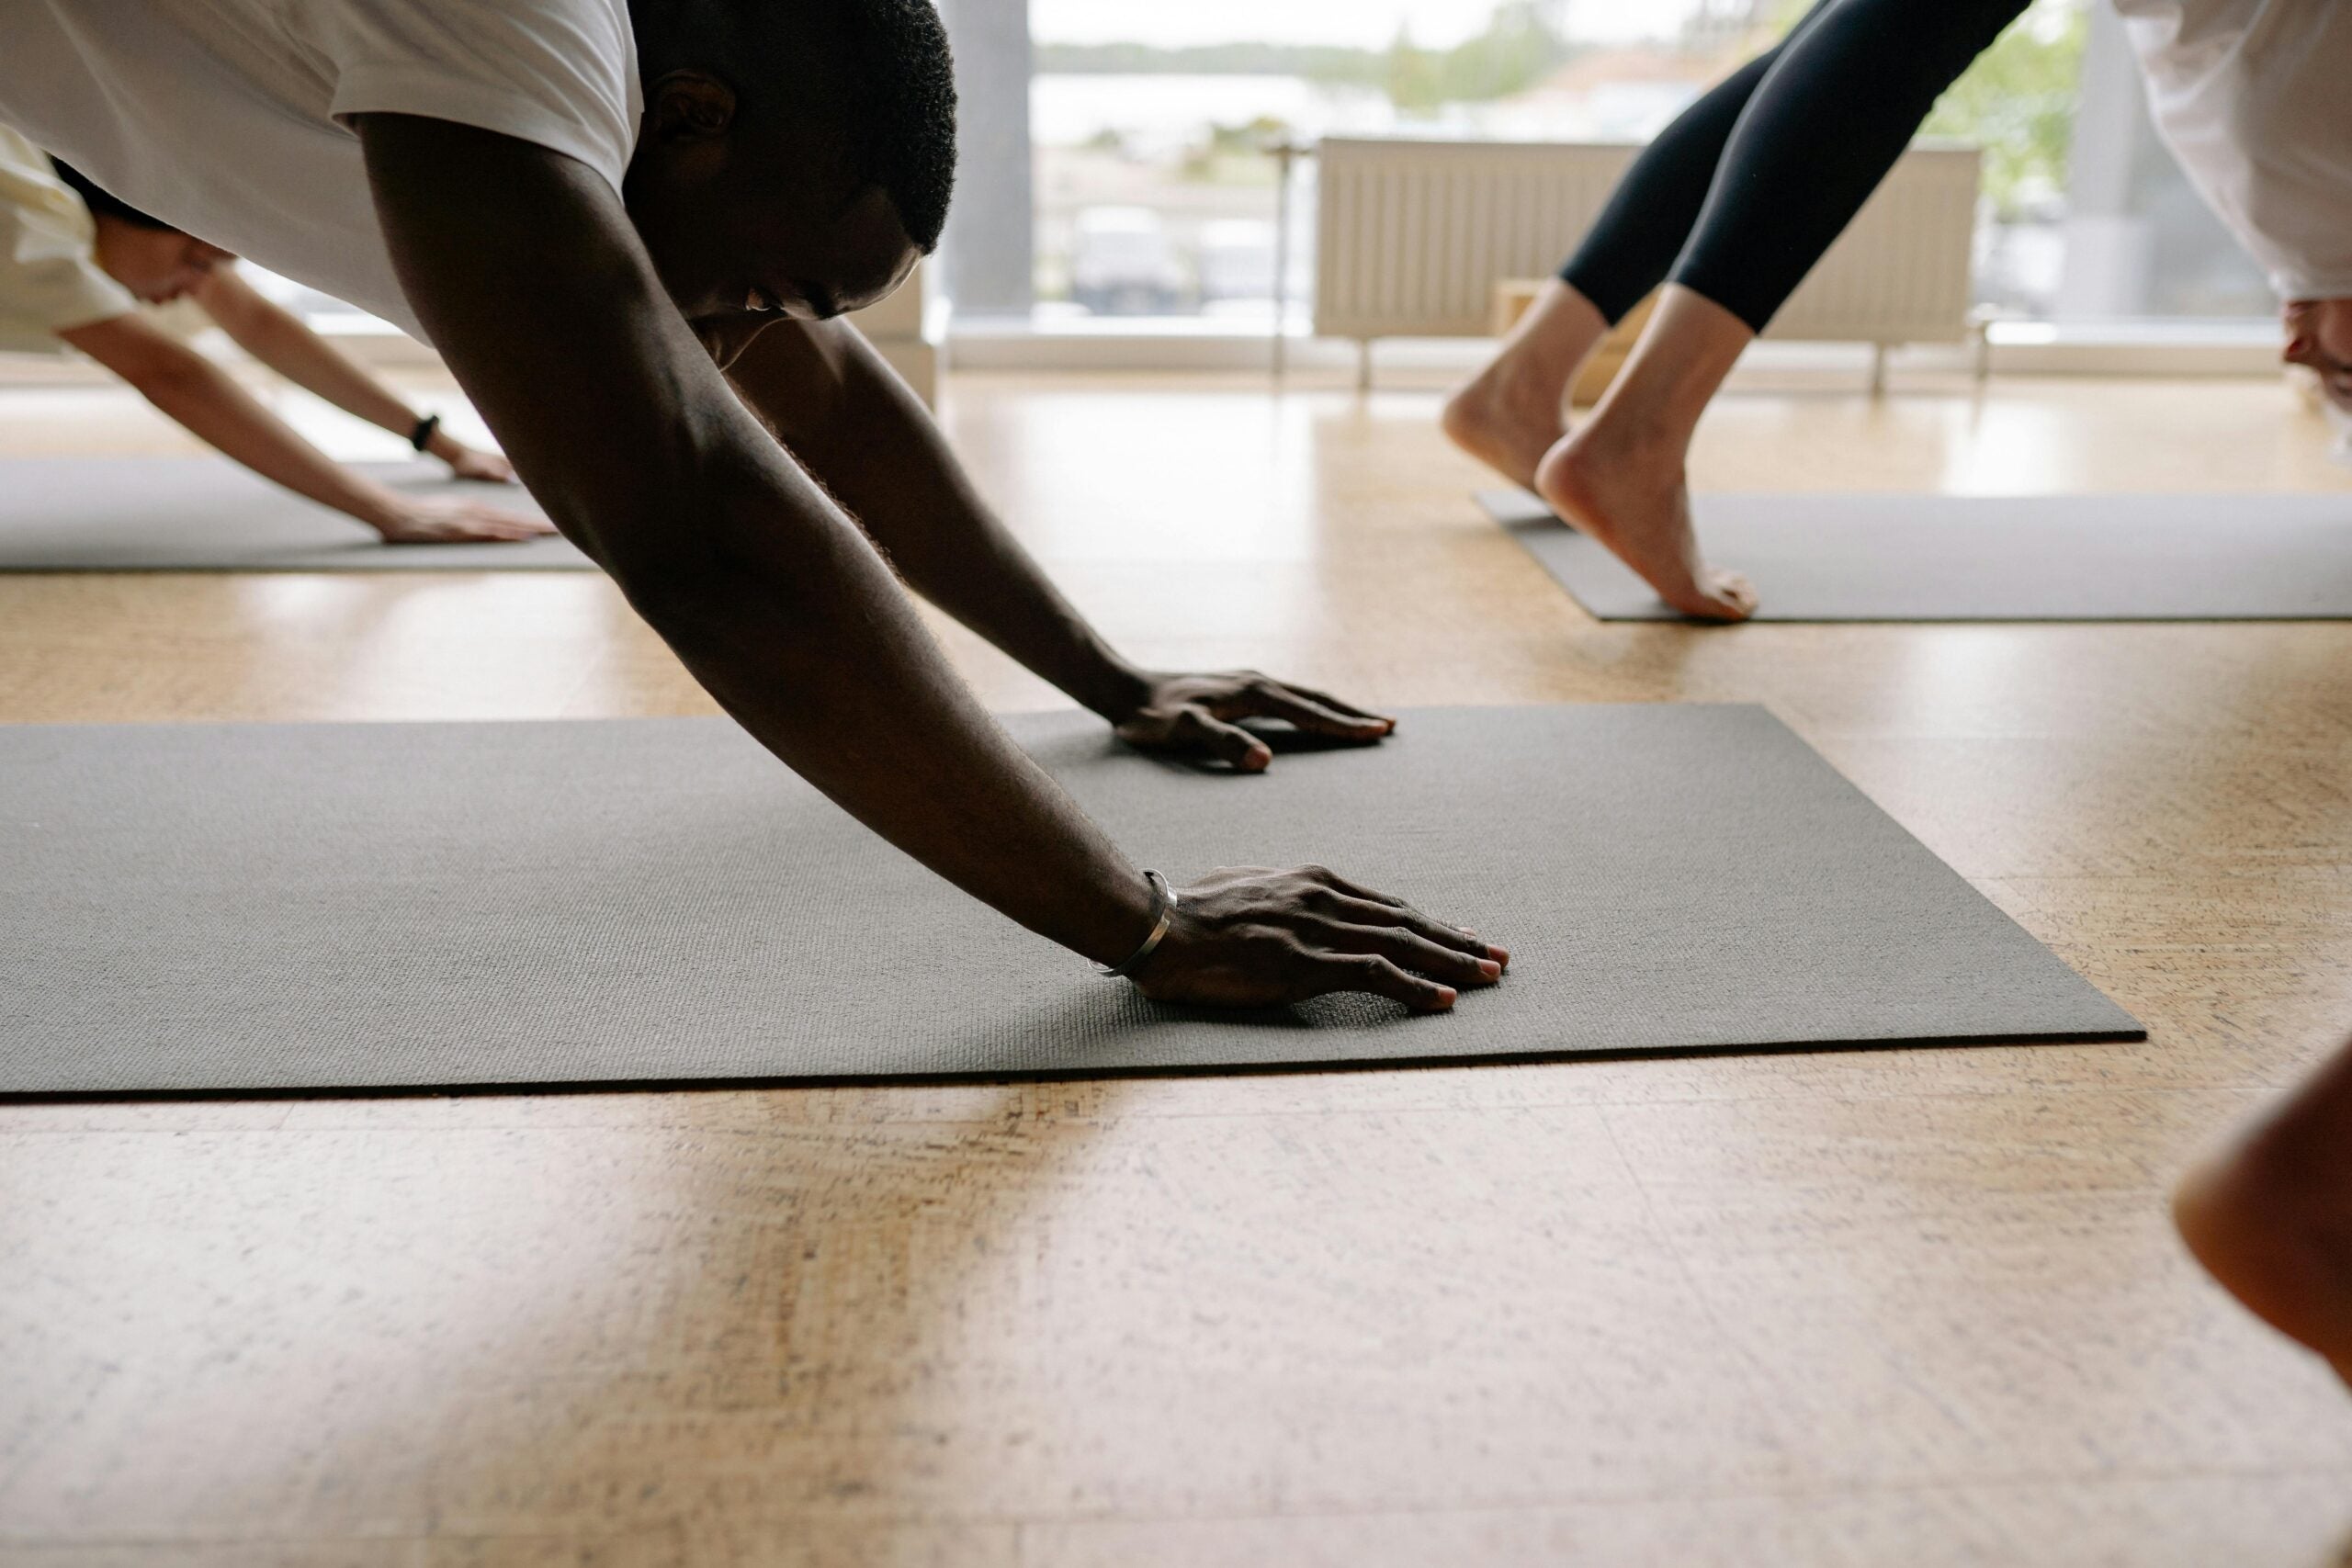
Your wrists, with their complex system of joints, tendons, and ligaments, are a very particular kind of jigsaw puzzle. And they’re involved in almost every motion you can think of—grasping, lifting, typing, twisting, reaching, you get the point. Your wrists also don’t catch a break on your yoga mat. If you find it difficult to hide your eye roll or sigh when a yoga teacher cues a pose that you just know will feel uncomfortable for you—think Downward-Facing Dog, Plank, or Chaturanga—you’re not alone.
The cracking, straining, aching, or straight-up painful sensations you might experience in any of these poses aren’t only common, they’re enough to keep people from practicing yoga at all, explained yoga and anatomy teacher Monica Bright in a recent episode of her podcast Essential Conversations for Yoga Teachers. “Wrist pain is one of the most common complaints from students in yoga classes, especially in vinyasa or flow-based practices,” said Bright during the episode.
When students don’t know how to navigate a pose that triggers pain in their wrists, they start thinking “yoga isn’t for me,” she added. But there are ways to make poses more manageable.
4 Ways to Make Your Wrists More Comfortable in Yoga
According to Bright, there are various ways to “dramatically decrease the weight” in your wrists in Downward Dog, Chaturanga, and Plank so that these weight-bearing poses feel more sustainable. The following advice is how Bright recommends handling wrist discomfort in her podcast episode. We also asked her for additional insights for students and teachers to better navigate this challenge.
1. Roll Up a Mat or Towel
Sometimes dispersing the weight through the rest of your hands can help. Placing support beneath your wrists helps achieve that. “Roll your mat or a towel underneath your hands” in Down Dog, Plank, or Chaturanga, suggests Bright. Or try placing yoga wedges underneath your palms, which has the same effect.
2. Place Hands on Blocks
Bright suggests placing your hands on blocks in Down Dog, Plank, or Chaturanga. Again, this shifts the weight out of your hands and wrists and allows your lower body to pick up some of the slack. Think of pressing your heels into or toward the mat. Also, push your hands against the blocks, which keeps your wrists active so you’re not “dumping” weight into them.
3. Make Fists
Instead of planting your palms on the mat in Plank or Chaturanga, form fists with your hands and rest the weight on your knuckles instead. Bright explains that this position keeps your wrists straight instead of in extension, which avoids potential discomfort. “It’s especially helpful for students who have tried reducing wrist extension using props (a rolled towel, mat, or foam wedge) and have continued to feel discomfort,” says Bright.
Another benefit of this option? “The fist variation eliminates fumbling with props,” adds Bright, “so students can stay in the flow with the rest of the class.”
4. Lower Your Knees
You can opt to put your knees on the mat in Chaturanga or Plank—or practice any other Plank variation—that feels better on your wrists. Similar to making fists, this allows you to continue with a vinyasa class without needing to reach for props.
5. Do a Different Pose
You can always choose to come into another pose that is more wrist-friendly, even if the teacher doesn’t cue it.
Bright offers Dolphin Pose as an alternative to Down Dog, although since it’s a challenging pose, she advises teachers to “present it as one option [rather than] the only solution.” There’s also the slightly more restorative Puppy Pose, which stretches the shoulders with similar arm placement as Down Dog, says Bright, but with less intensity.
In general, Bright suggests looking at wrist pain in yoga as “valuable feedback” from your body. It doesn’t mean you need to “avoid weight bearing forever,” she says. Instead, your aim might be to work toward weight-bearing over time.
Bright also recommends working toward gradual exposure to weight-bearing. “When attempting to practice with hands on the mat, I advise students to try it once in class and then assess how they feel afterward,” she says. And if pain persists, she advises students to continue to vary poses and/or consult with a health professional.
As always, in yoga, it’s not about arriving at a definite goal. Rather, you can do what feels right for you in the moment.